Access Cisco CSR Router with Cloud9
Access Cisco CSR Router with Cloud9
In order to access via SSH and work on the Datacenter router, we will use AWS Cloud9. Instead of using an external SSH client (i.e. Putty) we will leverage on Cloud9 for SSH connectivity to the Cisco router.
AWS Cloud9 is a cloud-based integrated development environment (IDE) that allows you to write, run, and debug code using just a browser. This environment includes a code editor, debugger, and terminal. Cloud9 comes pre-loaded with essential tools for popular programming languages, including JavaScript, Python, PHP, and more, so you don’t need to install files or configure the development machine to get started. new project. Since the Cloud9 IDE is cloud-based, you can work on projects from the office, home, or anywhere via a machine connected to the internet. Cloud9 also delivers a seamless experience for growing serverless applications, allowing you to easily identify resources, debug, and switch between local and remote execution of serverless applications. With Cloud9, you can quickly share your development environment with your team, allowing you to pair programs and monitor each other’s output in real-time.
-
Select tgw-Workshop.
- Select Open IDE.
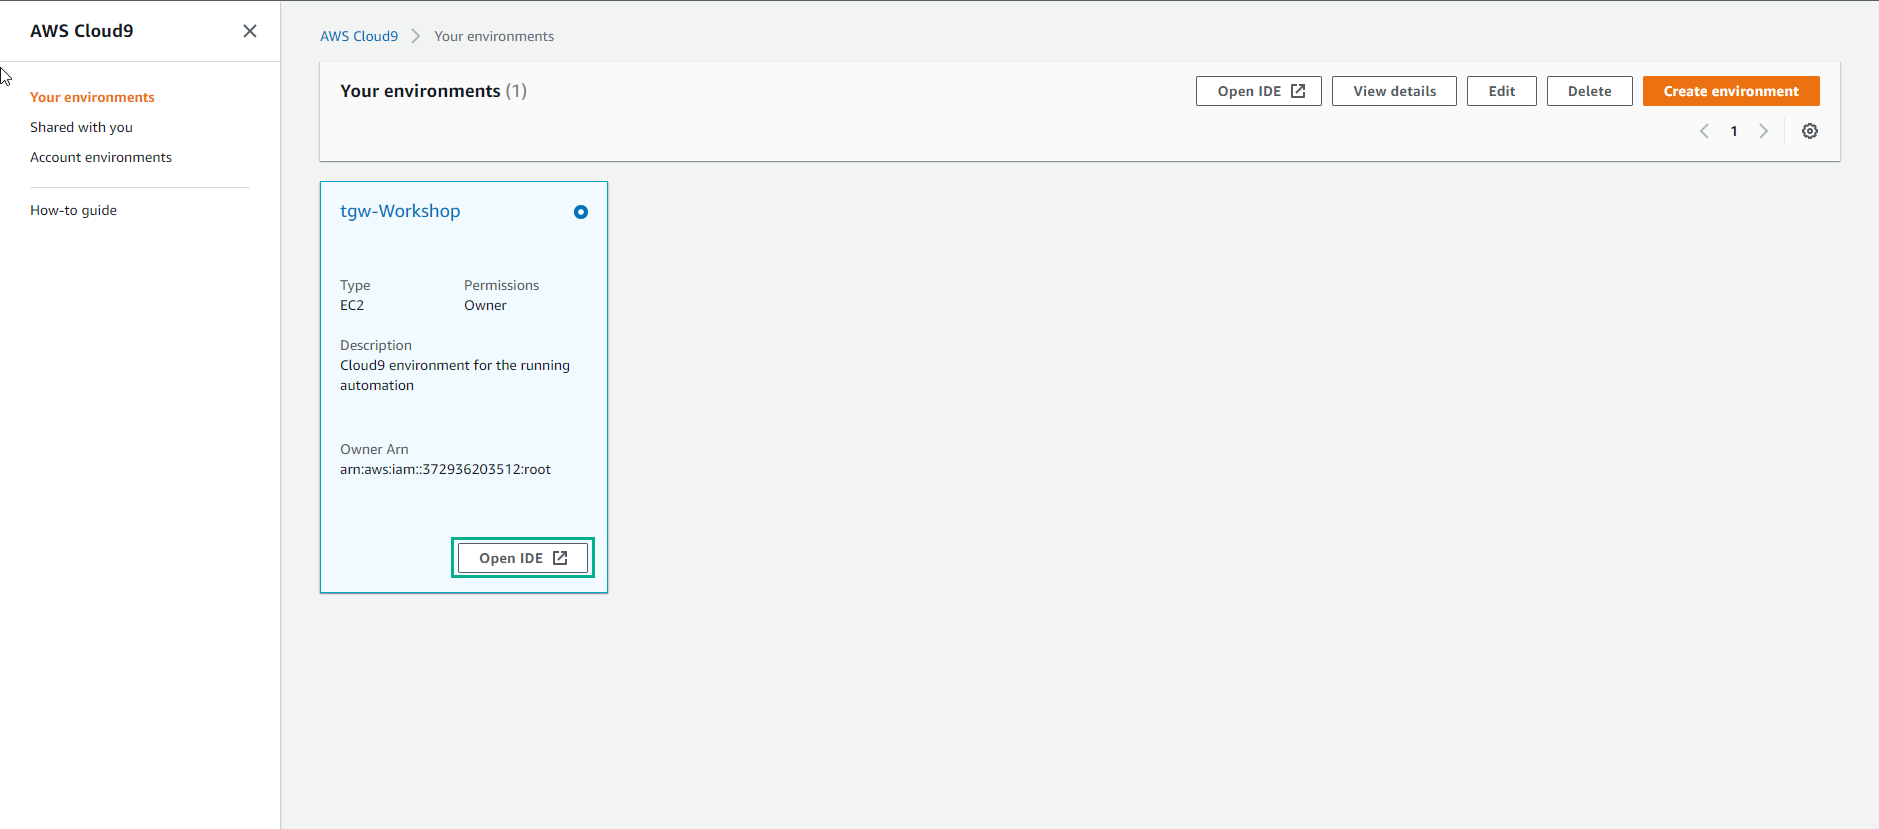
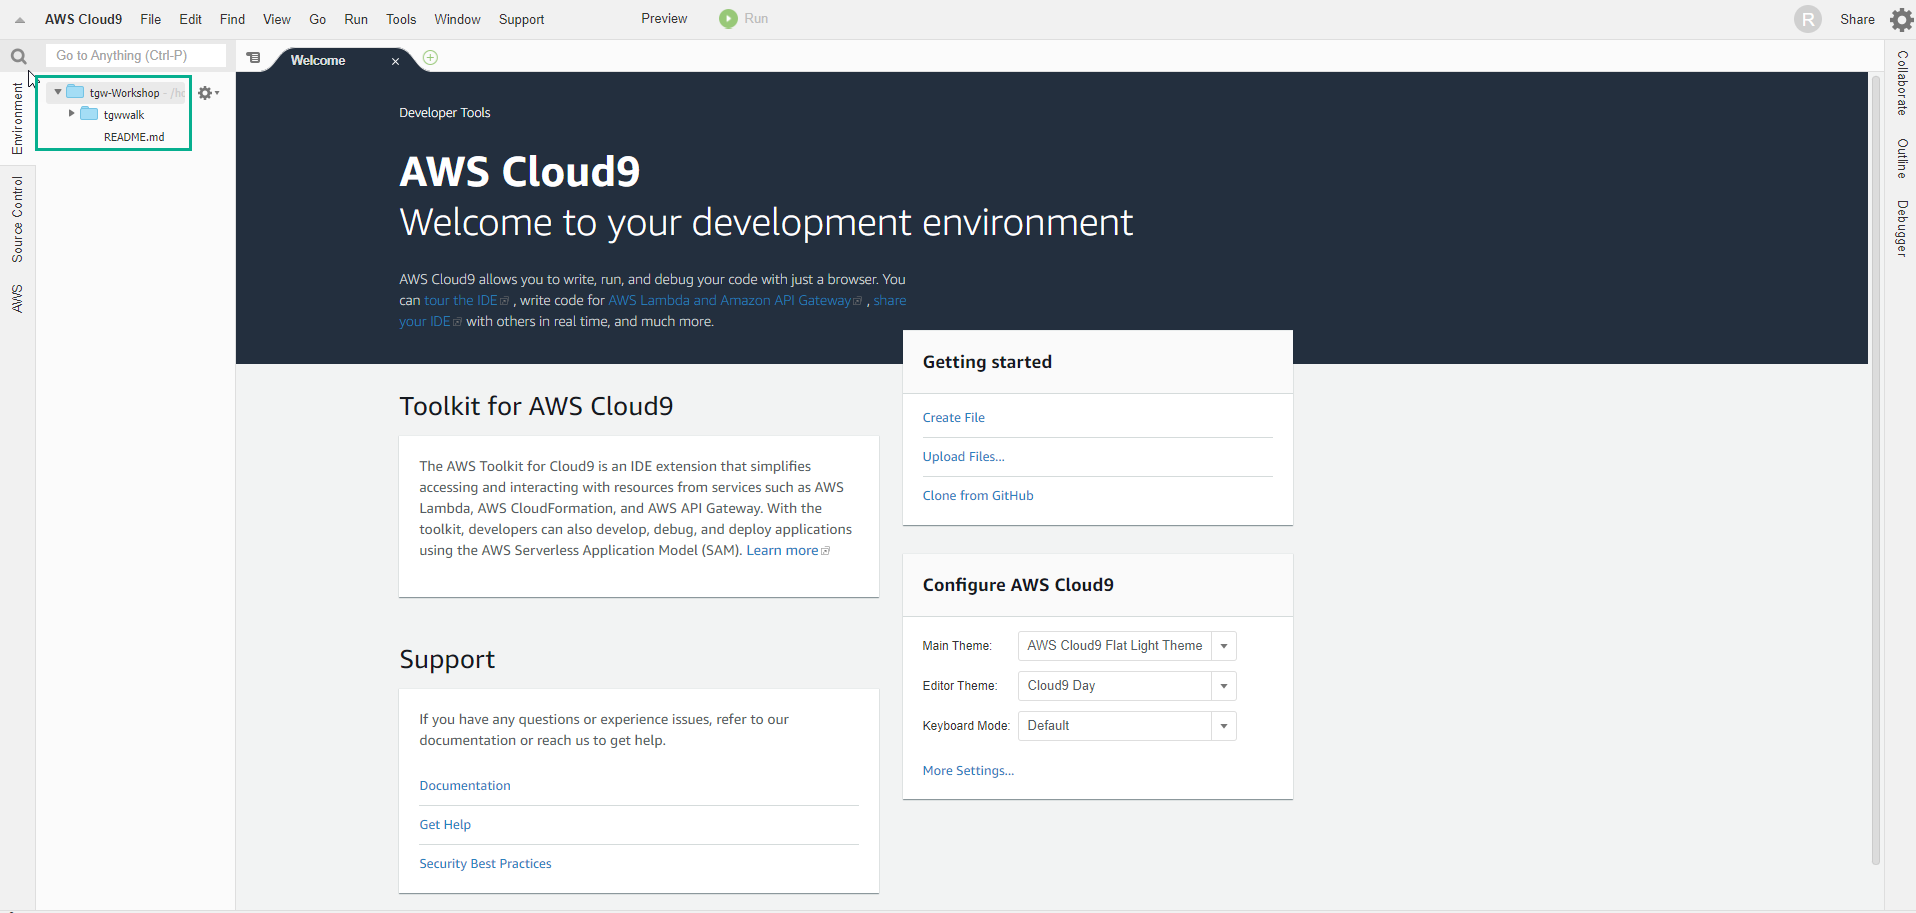
- Then the AWS Cloud9 interface appears.
-
In the Cloud9 interface.
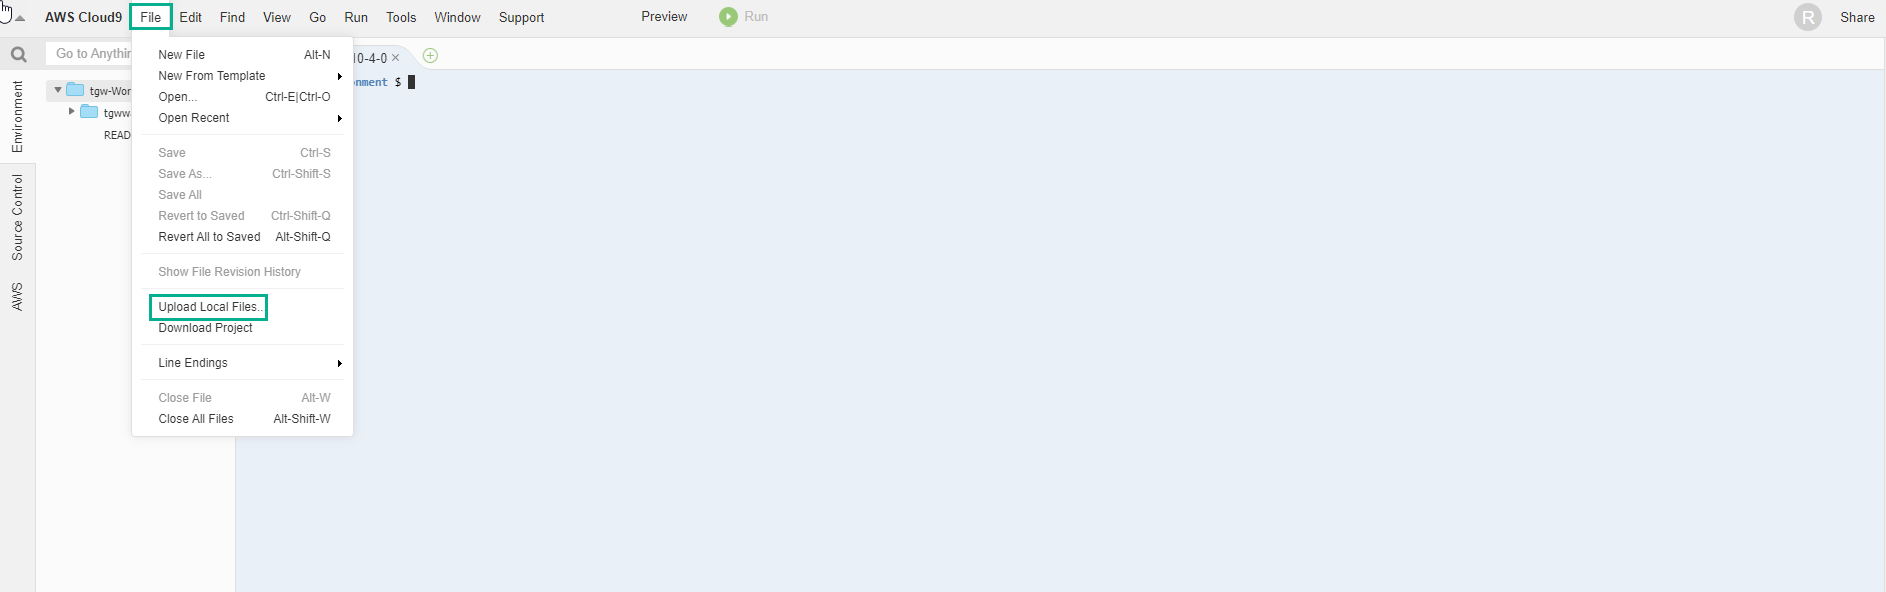
- Select File
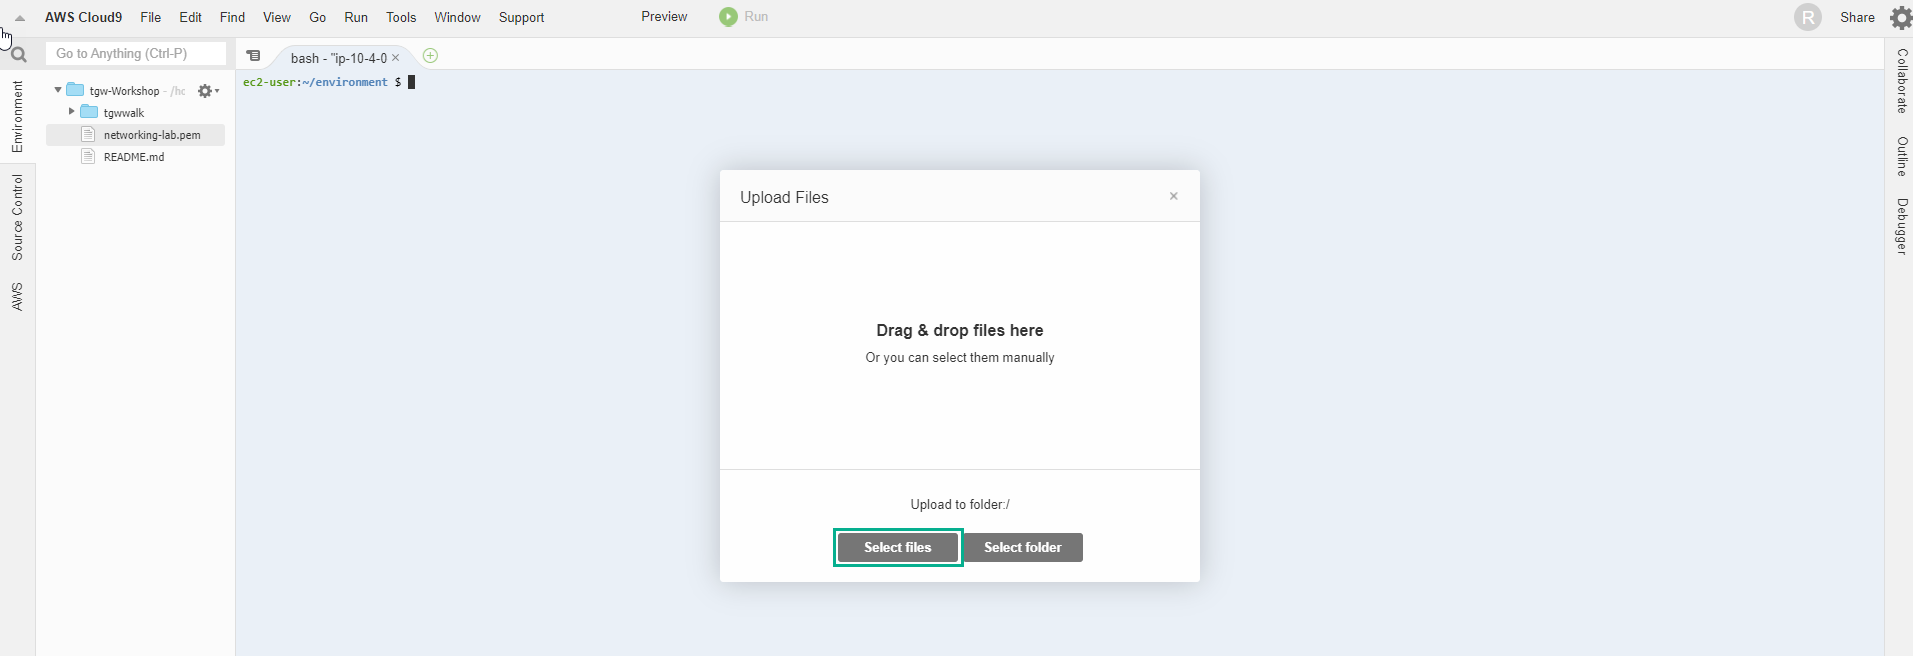
- Select Upload Local Files…
- We will select the Key Pair file created in the preparation step.
- Move the key to the .ssh folder.
mv _key_name_.pem ~/.ssh/

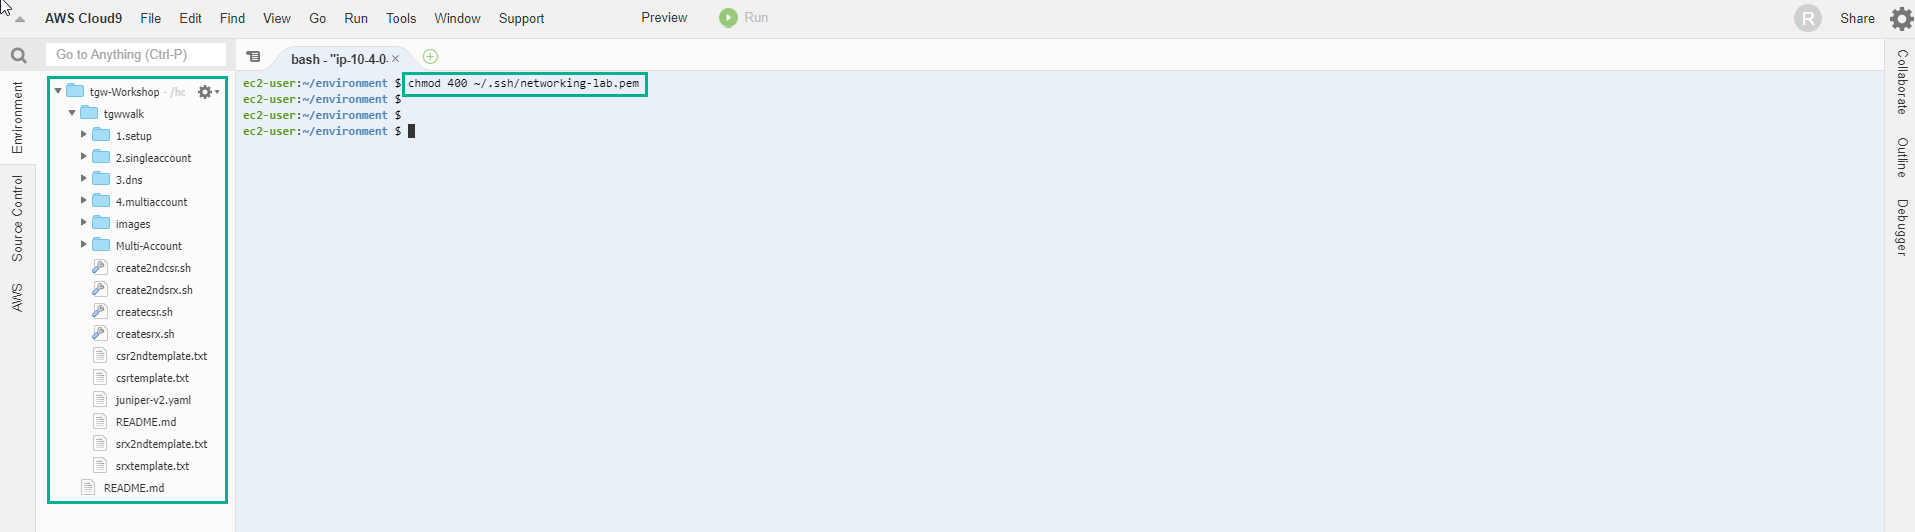
- Grant access to the key file.
chmod 400 ~/.ssh/_key_name_.pem
- Review Output of Stack CloudFormation
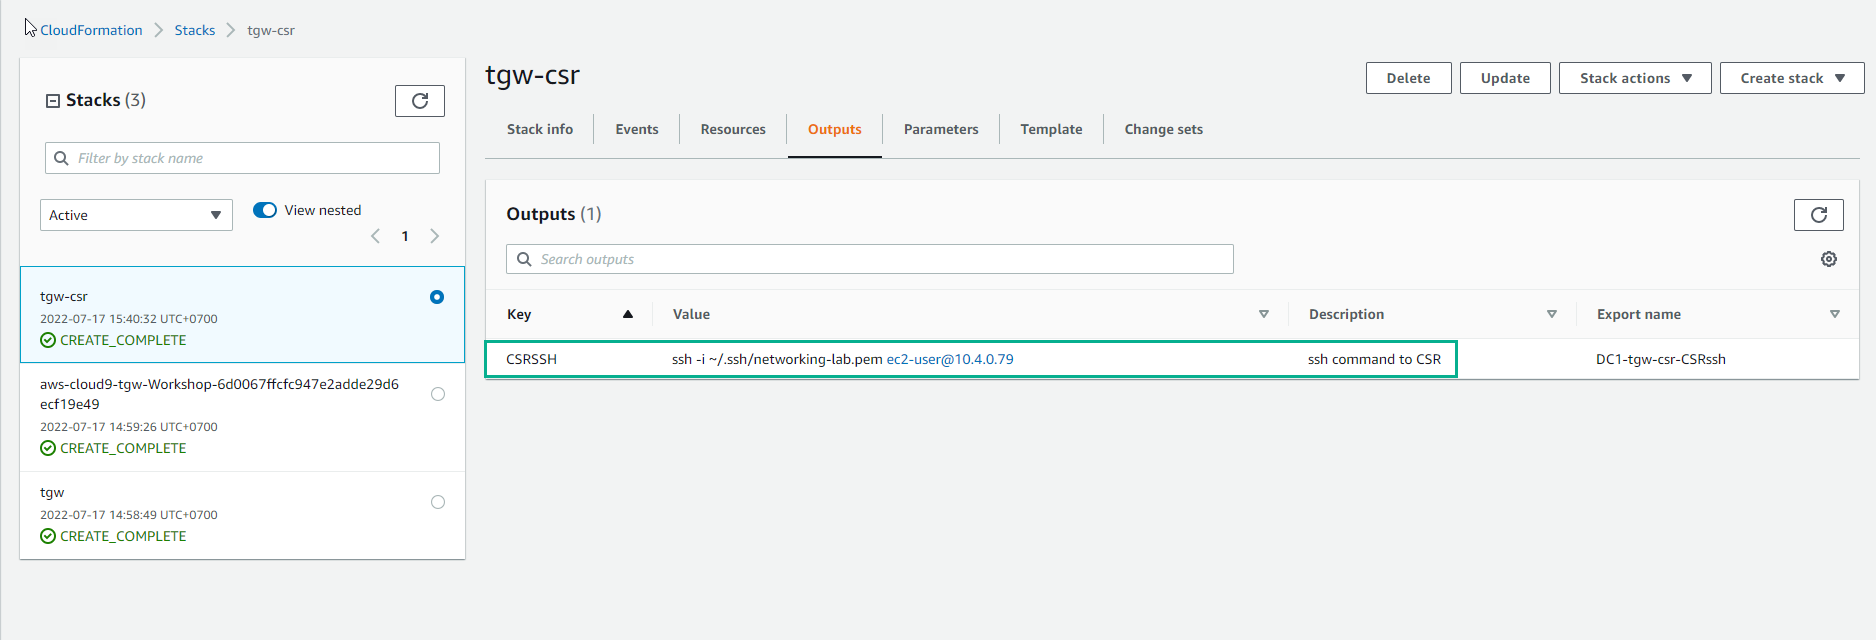
- Use command from Output CloudFormation, then type yes

- Execute the following test commands:
show ip interface brief
sh ip int br
sh ip route
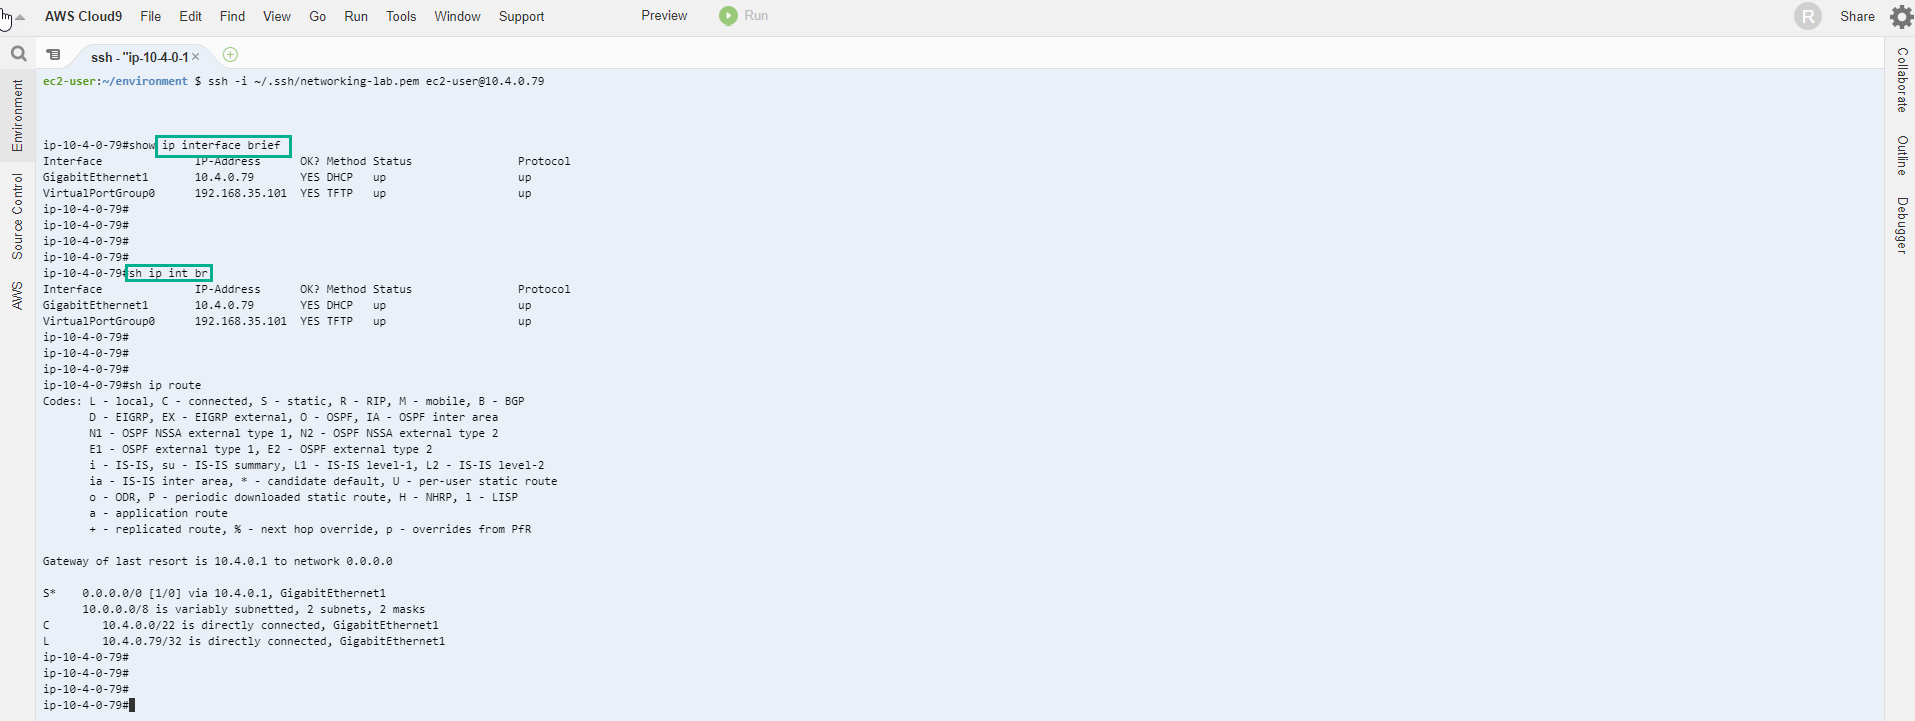
Lets now look at the router Interfaces by typing at the #prompt: show ip interface brief or sh ip int br for short. You will see the GigabitEthernet1. The interface ip is mapped to the physical ip of the instance.
Take a look at the route table on the CSR by typing at the #prompt: sh ip route. You will see S* 0.0.0.0/0 which is a static default route pointing to the 10.4.0.1 address. This is the local VPC router within the DataCenter VPC.
As mentioned before, the EC2 instance holds an Elastic IP address, which will be used as the tunnel destination ip once we setup the VPN between the datacenter and the Transit Gateway. The public Elastic IP is a one-to-one mapping to the private 10.4.x.x IP address you just SSHed to.